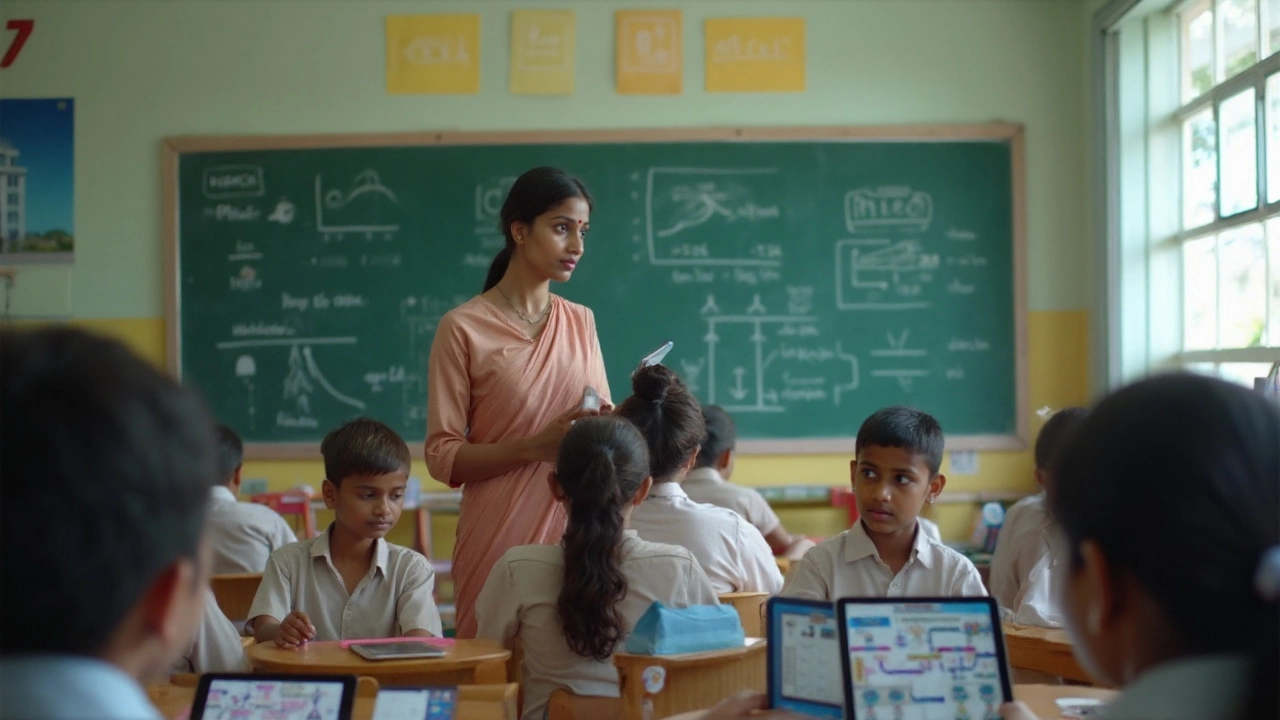
Flipped Classroom: A Practical Guide for Teachers
Ever wondered why some classrooms feel more alive than others? The secret often lies in the flipped classroom model. Instead of spending class time on lectures, you move the lecture home and bring activities to school. This switch lets students practice, discuss, and solve problems together while you guide them in real time.
Why Flip? The Big Benefits
First off, flipping gives students control over how they absorb new material. They can pause, rewind, or re‑watch video lessons at their own pace, which cuts down on missed concepts. In class, the focus shifts to active learning—think group work, case studies, and problem‑solving. This hands‑on time improves retention because students apply what they just learned instead of just listening.
Second, the teacher becomes a facilitator rather than a one‑way speaker. You can walk around, answer questions on the spot, and tailor tasks to each group’s needs. That personal attention often raises confidence and keeps students from falling behind.
Third, the flipped model encourages collaboration. When students work together on projects, they practice communication skills that exams don’t test but employers love. Plus, peer explanations often click better than textbook language.
How to Set Up a Flipped Classroom in 5 Steps
1. Choose the right content. Start with a short video or a reading that covers the core concept. Keep it under 10 minutes so students stay focused. Free platforms like YouTube or school‑hosted sites work well.
2. Set clear expectations. Tell students exactly what to watch, how long it should take, and what they need to bring to class. A simple checklist in the syllabus helps avoid confusion.
3. Design in‑class activities. Plan tasks that require applying the video’s ideas—problem sets, debates, or mini‑projects. Make sure each activity has a goal and a way to check understanding.
4. Use quick checks. Start class with a 2‑minute quiz or a poll to see who missed key points. This informs how much support you’ll need during activities.
5. Gather feedback and tweak. After a few weeks, ask students what worked and what didn’t. Maybe the video was too long or the activity felt rushed. Adjust the length, format, or timing based on their input.
Remember, you don’t have to flip every lesson. Begin with a single unit—like photosynthesis in biology or linear equations in math—and see how the class responds. Once you see higher participation and better scores, expand the approach.
Finally, keep the tech simple. A shared folder with videos, a Google Form for quizzes, and a classroom timer are enough to get started. Avoid over‑complicating with fancy apps until you’re comfortable.
Flipping the classroom isn’t a magic trick; it’s a shift in where learning happens. By giving students control at home and interactive practice at school, you create a space where ideas stick and confidence grows. Try it out, track the results, and watch your classroom become more dynamic than ever.
Top 5 eLearning Models Explained: Online Learning Approaches That Work
Discover 5 major eLearning models used in online education today. See how blended, flipped, and self-paced learning reshape classrooms and training.
read more